


![]()
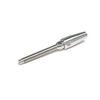
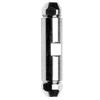
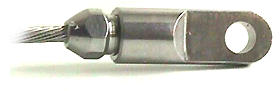
Sta-Lok terminals can be fitted on site using simple hand tools. Exact-length accuracy can be achieved without pre-measurement or calculation.
|
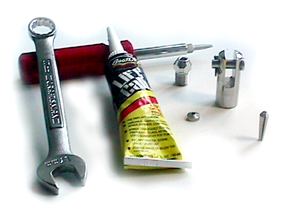
The tools you need are: • Life Calk. |
 |
||||
|
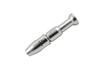
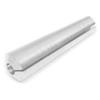
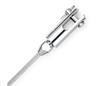
1. CUT THE WIRE If you are using a hacksaw, a new quality blade is highly recommended. You want the cut to be square without protruding wires. |
 |
||||
|
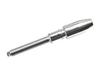
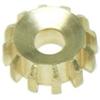
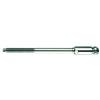
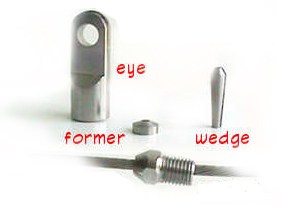
Slide the end over the wire and then unravel the outer strands (one strand at a time) 2-3 inches exposing the center core and slide the wedge over the center core. |
 |
||||
|
3. REPOSITION THE OUTER STRANDS Twist the wire so that it reforms around the wedge. Insure that the strands protrude 1/8 inch (2-3mm) from the eye of the wedge. |
 |
||||
|
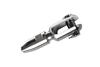
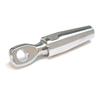
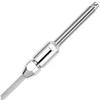
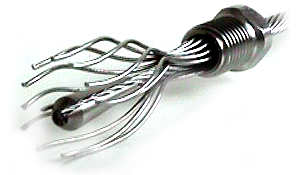
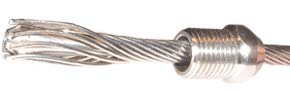
4. PUSH THE SOCKET OVER THE WIRE Individual wires should not over lap! Make sure the wires are evenly arranged around the wedge.
Tip: Push the fitting towards the end of the wire while repositioning the wire. Important Tip: Put a couple of drops of Loctite on the starting threads when first assembling the terminal. This Loctite will act as a lubricant and will insure that the threads will not gall. This Loctite will also insure that the terminal will not loosen after the final assembly. The Loctite will not setup until the terminal is closed as it is anaerobic. (Only sets up in the absence of air.) |
 |
||||
|
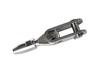
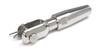
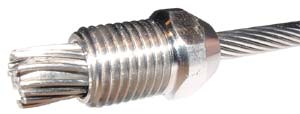
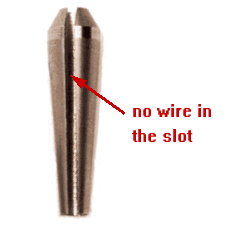
5. THE FORMING PROCESS The initial forming process begins when you begin screwing the parts together. Remember, do not over tighten and, when you begin to bottom out... Stop! Unscrew the fitting and check to make sure the wires are evenly formed around the wedge. The wires should be evenly arranged, not overlapping and the slot must not have a trapped wire. If you see a wire inside the slot, pry it out. |
 |
||||
|
6. THE FINAL ASSEMBLY Fill the cavity of the terminal's body about ½ full of Boat Life and place a few drops of the Loctite on the threads. Reassemble the fitting and tighten to the point of bottoming out. Do not over tighten! Over-tightening will damage the threads and wire. Over-tightening may render the terminal impossible to reuse at a later date. |
|
||||
|
RIGGER NOTES 1. The Loctite secures the fitting. |
|||||